How to Rotate Camera in Three JS
This tutorial focuses on a simple but useful animation you can create in your scene by rotating the camera. At first glance, you might think there is no need to rotate the camera as long as we can rotate the object. But in fact, the main reason we need to rotate the camera is that sometimes we need to rotate both the object and the camera, for instance, when you want to simulate the solar system from the Mars point of view. In this situation, you need to keep Mars rotating around the sun; as a result, the camera must be placed in the position of Mars. Moreover, the camera’s rotation can be used for more complex and beautiful animations. In this tutorial, we want to use the scene we created in the last article about the point cloud of a torus knot with the difference that here we also make the camera rotate around a certain point. After you see the result and compare it with the simple animation we had in our previous article, you will understand what difference will using a rotating camera make in your animation.
A simple example from scratch:
We will get started with the main elements of a Three js scene, including the camera, the renderer, the scene, and the object. Before doing that, we use the Vite plugin to easily create all the folders and files you need to run the Three.js code. First off, create a folder in the directory of your projects by using the following commands:
mkdir RotateCamera
cd RotateCamera
Then, inside of the your project folder, create the necessary files and folders by
simply running the Vite plugin command:
npm create vite@latest
Then enter the name of the project. You can write the name of your project as the
name. And also the package (the name is arbitrary, and you can choose anything
you want). Then select vanilla as the framework and variant. After that, enter the
following commands in the terminal. Notice that here RotateCamera is the project
folder’s name, and thus, we have changed the directory to RotateCamera. The
name depends on the name you enter in the Vite plugin :
cd RotateCamera
npm install
Afterward, you can enter the JavaScript code you want to write in the main.js file. So,
we will enter the base or template code for running every project with an animating
object, such as a sphere. Also, do not forget to install the Three.js package library
every time you create a project:
npm install three
The code:
Now, enter the following script in the main.js file:
import * as THREE from 'three';
import { Mesh } from 'three';
import { OrbitControls } from '/node_modules/three/examples/jsm/controls/OrbitControls.js';
import Stats from '/node_modules/three/examples/jsm/libs/stats.module.js';
const scene = new THREE.Scene();
const camera = new THREE.PerspectiveCamera(75, innerWidth /innerHeight , 0.1, 1000);
const renderer = new THREE.WebGLRenderer({
     antialias : true
});
renderer.setSize(innerWidth, innerHeight);
document.body.appendChild(renderer.domElement);
//creating a TorusKnot
const geometry = new THREE.TorusKnotGeometry(10, 3, 300, 20 );
const material = new THREE.PointsMaterial({
     //color:0xffff00,
     size: 0.1
});

const TorusKnot = new THREE.Points(geometry,material);
scene.add(TorusKnot);
camera.position.z = 30;
var angle = 0;
var radius = 5;

function animate() {
     requestAnimationFrame(animate);
     TorusKnot.rotation.y += 0.002;
     render();
     camera.position.x = radius * Math.cos( angle );
     camera.position.z = radius * Math.sin( angle );
     angle += 0.01;
};

function render() {
     renderer.render(scene, camera);
};

animate();
Now if we save the code, and enter the following command in the terminal:
npm run dev
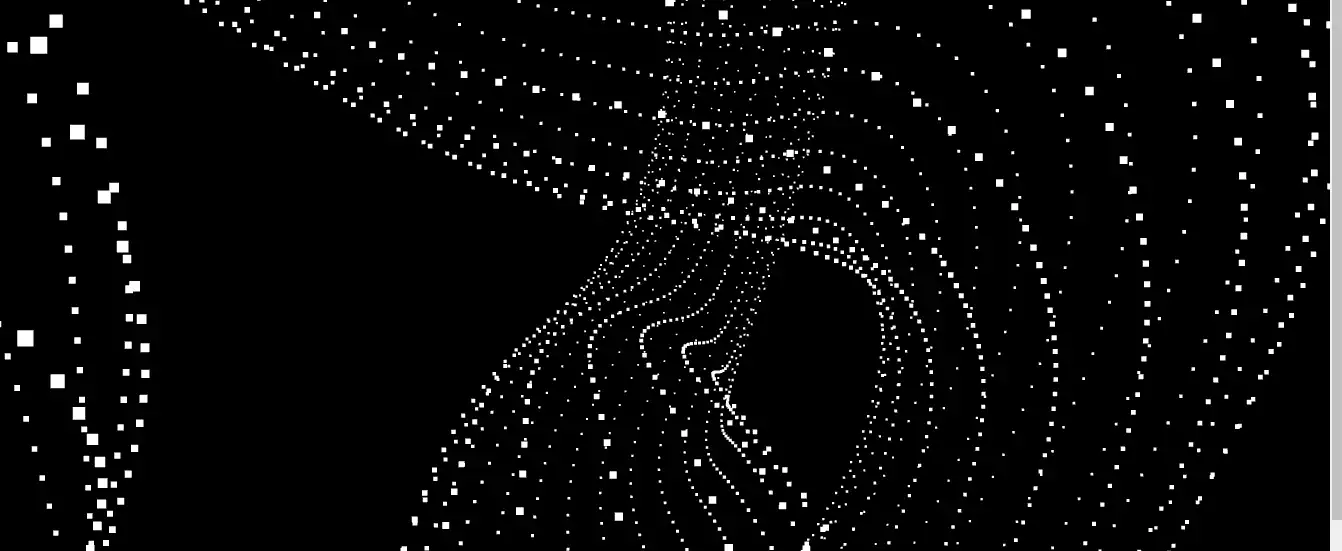
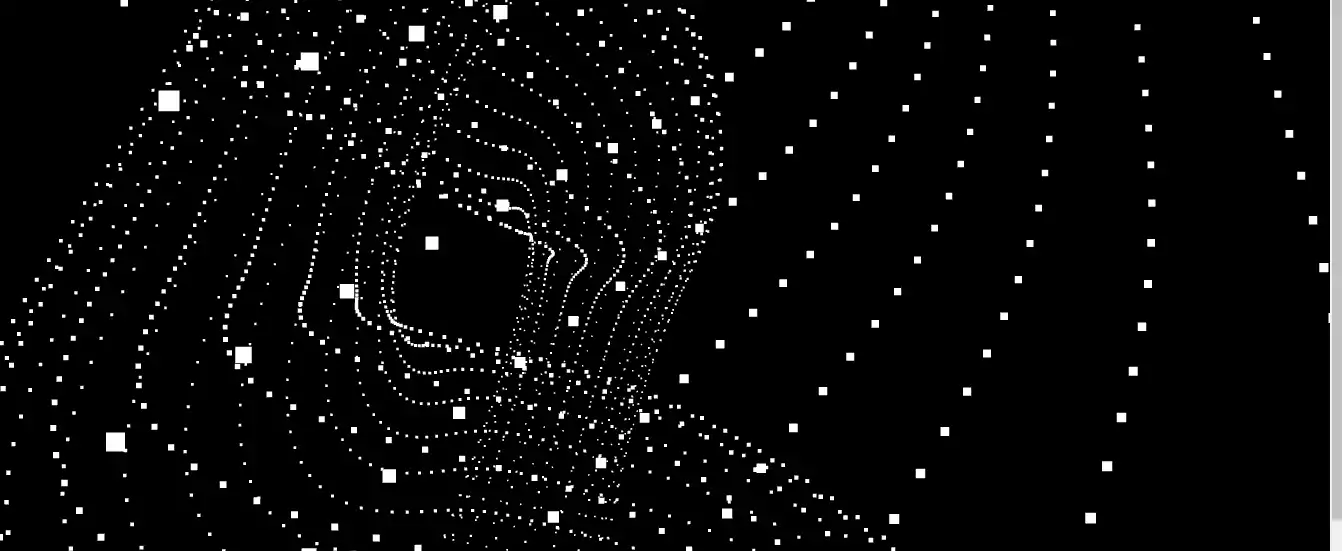
The above script will give the following result:Explaining the code:
The tricky part of our code is written in the animation section. If you want to get familiar with how you can create the point cloud effect, you can head over to our recent article with the title ‘Point Cloud Effect in Three JS’. To make the camera rotate, we need to first determine the radius of rotation and the initial angle from which the rotation begins. We have defined these variables as angle and radius. Afterward, in the animation function, we incremented the angle to and change the position of the camera on the circle path using some mathematical calculations. Notice, that the object (Torus knot) is also rotating.
camera.position.z = 30;
var angle = 0;
var radius = 5;
function animate() {
     requestAnimationFrame(animate);
     TorusKnot.rotation.y += 0.002;
     render();
     camera.position.x = radius * Math.cos( angle );
     camera.position.z = radius * Math.sin( angle );
     angle += 0.01;
}
Conclusion
In this article, we focused on the way we can rotate a camera around a particular path. This kind of animation is not just related to the object’s rotation, but we have the camera’s rotation, too. One of the use cases of such a scene is simulating the solar system. However, in this tutorial, we worked on a simpler example: the point cloud of a torus knot. We rotated the camera around a particular path to see the different parts of the rotating object from inside and outside. If you compare the scene we created with the one created in the recent article with the same object and scene, you will notice how beautiful the animation has become compared to it.Download this Article in PDF format

Arashtad Custom Services
In Arashtad, we have gathered a professional team of developers who are working in fields such as 3D websites, 3D games, metaverses, and other types of WebGL and 3D applications as well as blockchain developemnet.


