How to quickly create and deploy a Vue.js web Application using Github?
In the previous articles we have discussed the benefits of using the Vue.js front-end framework. In this article, we are going to see how we can quickly create and deploy a web application using Vue. Of course, you can create any kind of web application according to your taste and need and the main focus of this tutorial-based article is not on the application itself but mostly on the configuration, installation of the packages, and deployment of the web application. As a result, we will consider the default written script in the App.vue and main.js as it is – You can replace your own code in them – And will work on using Netlify to host our files. If you are not familiar with Netlify we will introduce it in the first section of this article.
What is Netlify?
As web developers, we worry about how to distribute or serve our applications to customers after completing the main task of creating applications customers can use. To deploy your Vue JS application, you can use a variety of services. These services include GitHub Pages, GitLab Pages, and Bitbucket Pages, as well as Firebase, hosting, Heroku, Digital Ocean, AWS solutions, CloudFront, Now, and Surge, among others. In this article, we will be focusing on Netlify, one of the easiest platforms for setting up your Vue JS application.Using Netlify for your Vue JS web application is one of the fastest ways to deploy your Vue JS application. It is a serverless platform based on Git. In addition, it allows you to build, collaborate and publish your apps quickly. Moreover, Netlify provides solutions that cover cloud lambda functions and even JamStack architecture. It integrates with the most modern web development tools. There are three reasons to use Netlify to deploy your app. First of all, it is super-fast to set up and provides a 3-step process that is easy for even a novice to follow. the second reason is that it is free. And the third reason is that it will continuously deploy changes as soon as you push them.
Step by Step Guide:
Now that we know what we will do and why we will do it, let’s get started. The first step is to make sure you have Vue installed on your operating system. If you have not installed it yet, the command below will do that for you.
npm install -g @vue/cli
We can also check the installation success and its version by the following command:
vue --version
Now we are ready to create a new project. To do so, you can use the below command:
vue create TestVue
It will then create a scaffold in the file location you selected of a Vue JS application based on your default settings. Now switch to the directory that has been created and run the default script created by Vue JS, using the below command.
cd TestVue
yarn serve
Notice that if you are using npm instead of yarn, you can use the following:
npm run start
After that, if everything goes well, you will be able to see the following result in your localhost address given in the terminal:
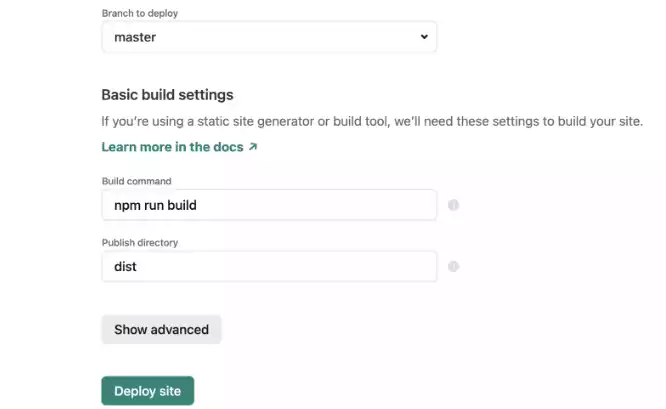
npm run build
# for yarn use this one:
yarn build
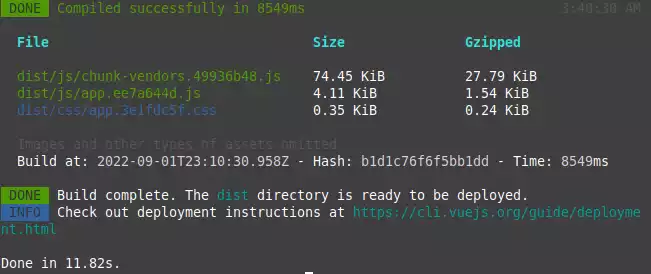
The result should be something like this:Deployment on Netlify:
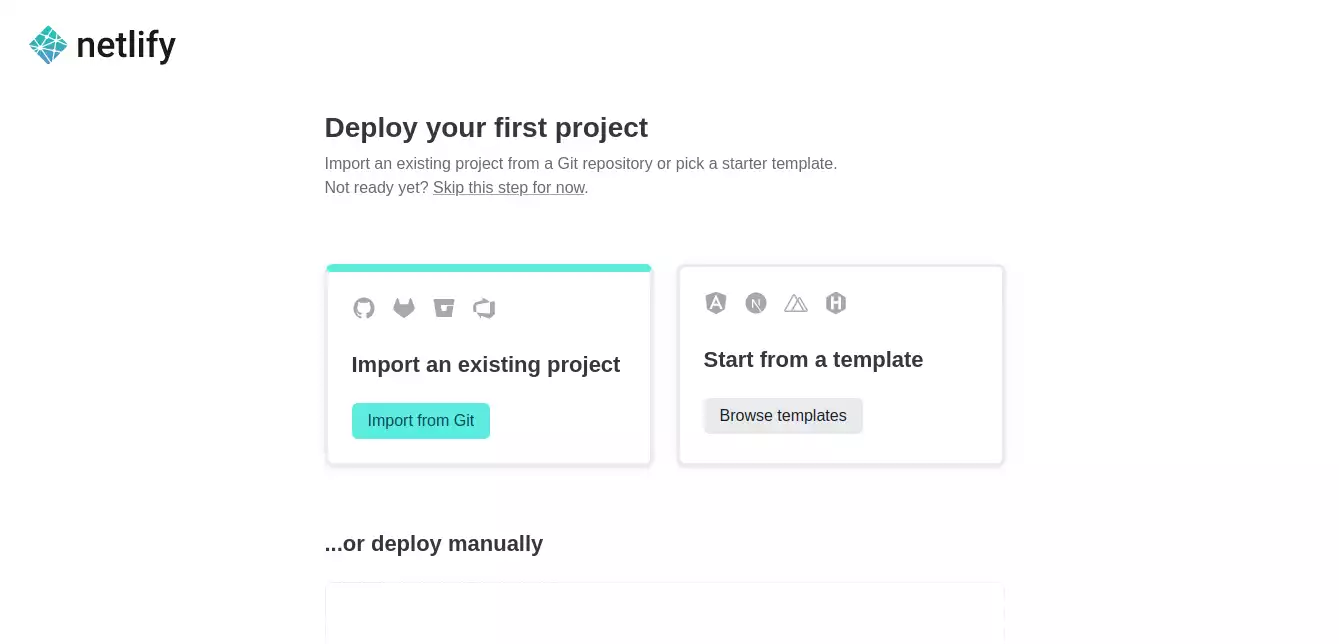
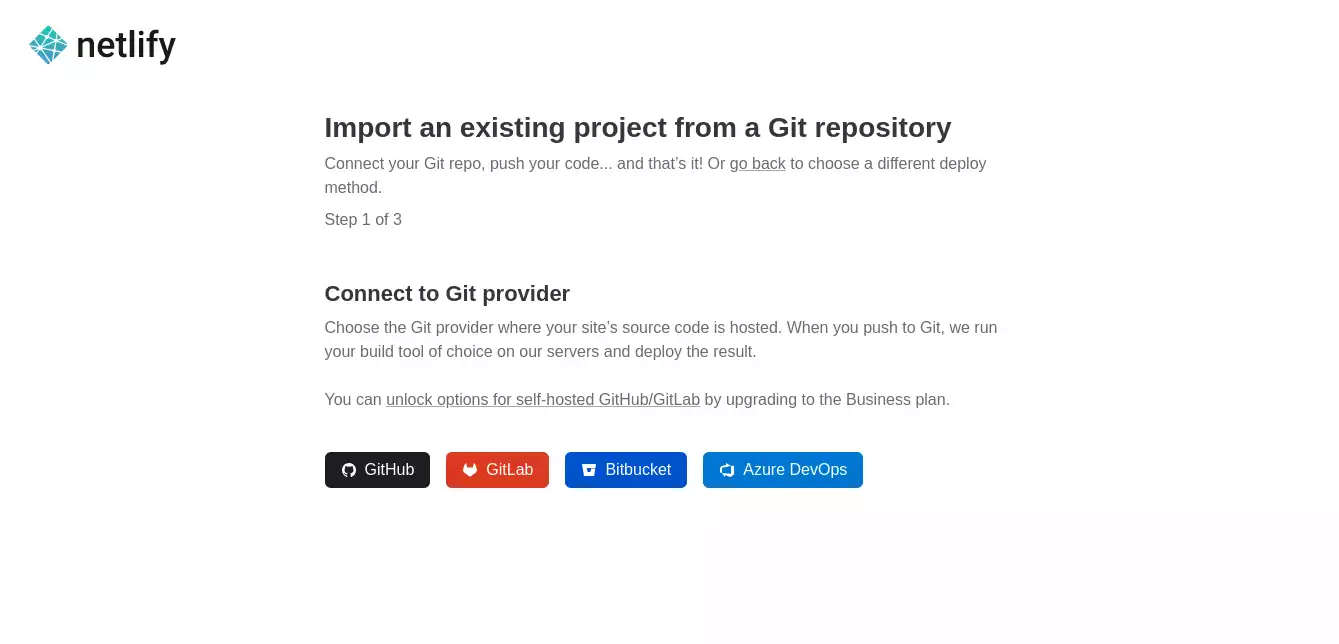
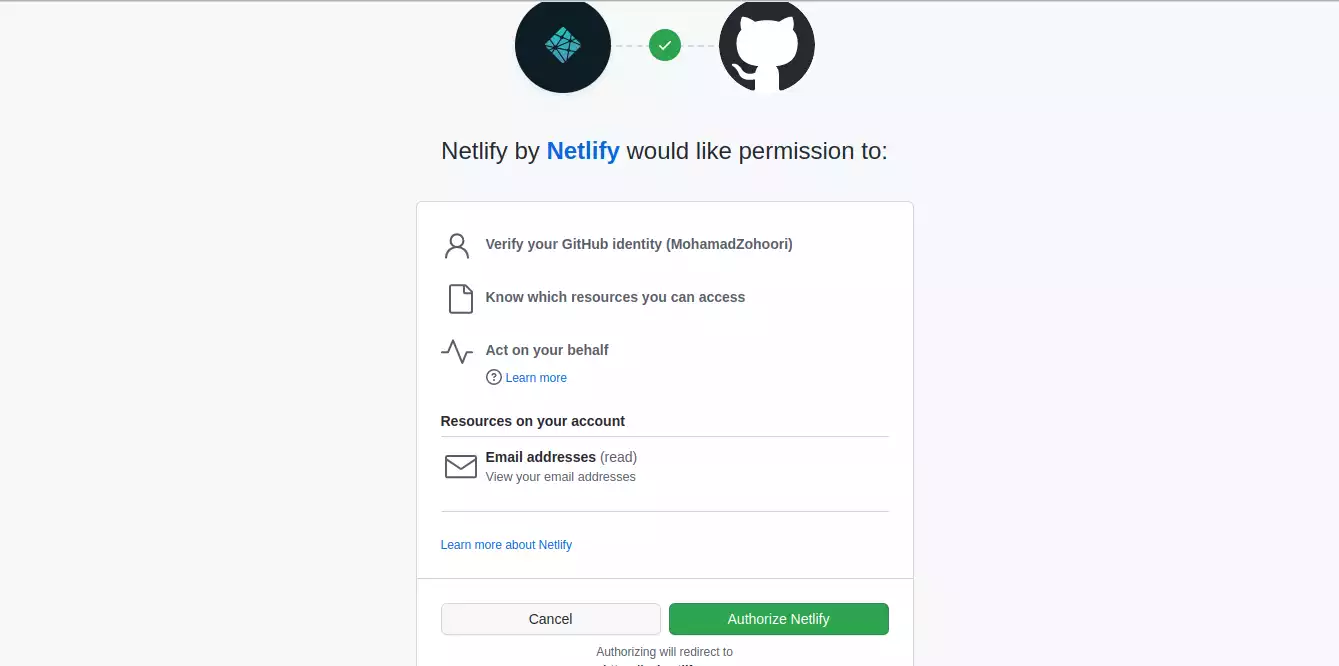
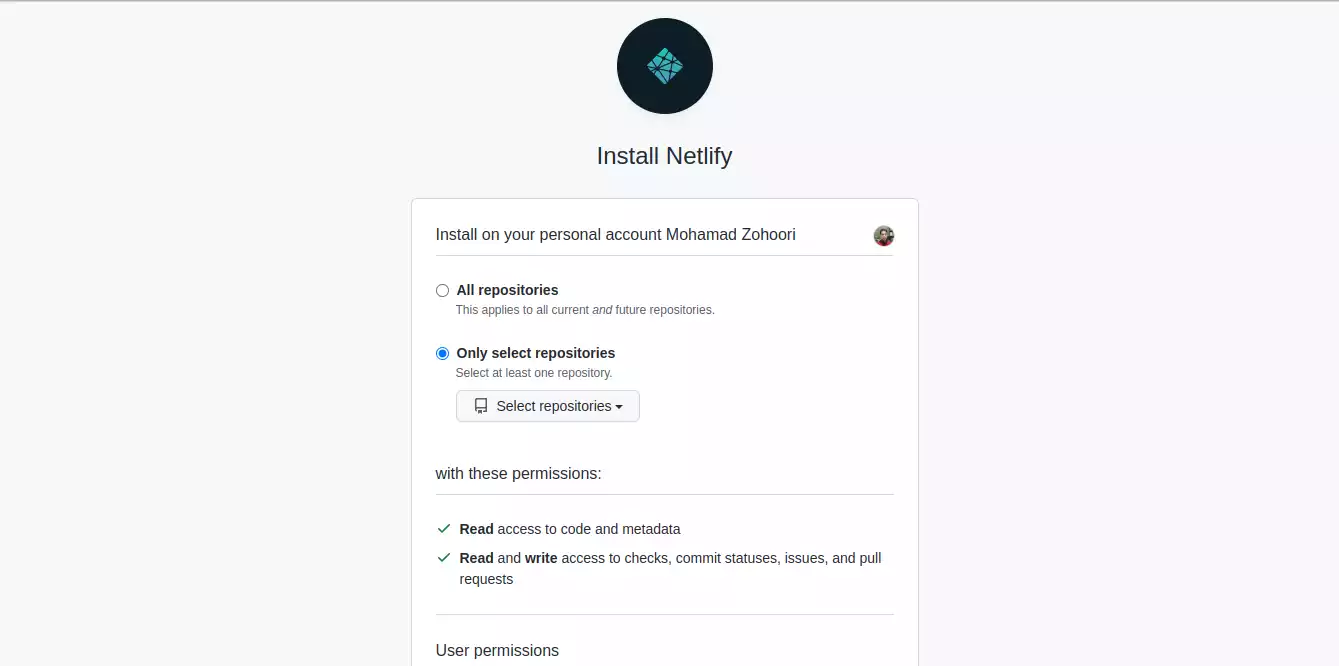
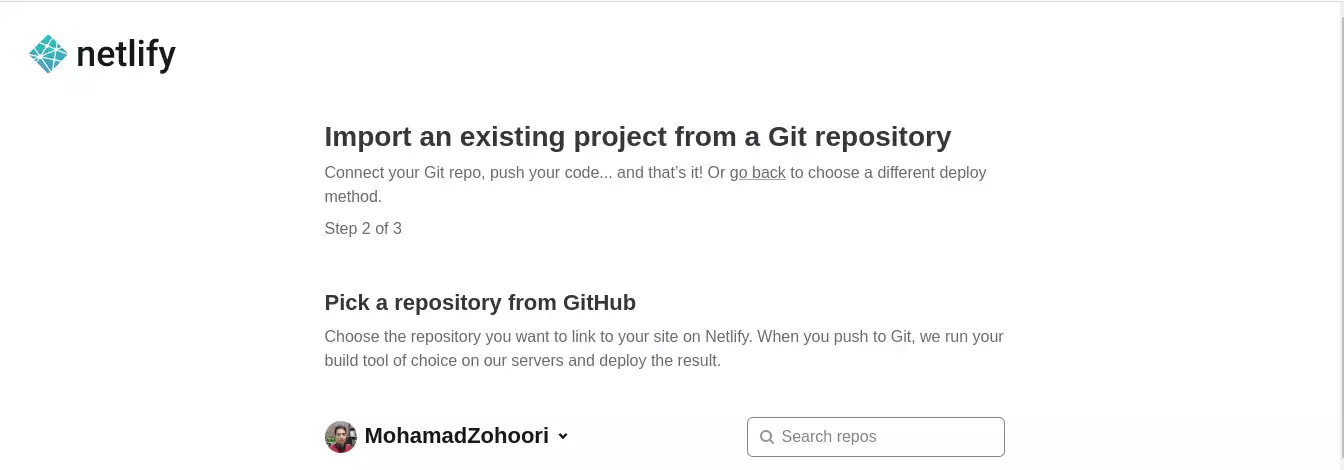
Now, we are ready to deploy our Vue JS application to a host. As we mentioned earlier, we will use Netlify. Before we want to get started with it, we should push our script to Github. Then we will use the repository on Netlify to deploy the App on its web servers. To make this happen follow the steps taken in the photos. First, we should head over to Netlify Signup Link and sign up. You will then see the signup method, in which you should choose Github or Gitlab or anywhere you wish. However, this tutorial goes on with Github:Next, we should authorize Netlify to connect to our GitHub account:
Afterward, fill in the blanks:
Select import from Git.
choose GitHub.
Once more, authorize Netlify to connect to your GitHub account.
Based on your plan, select one of the boxes.
If you have selected all repositories, specify the one that you want to deploy.
Conclusion
In this tutorial-based article, you learned how to create a web application using Vue.js and also how to deploy it on a web page using Netlify. This way you can easily push your projects on GitHub and deploy them using the Netlify host. One of the highlights of Netlify is its easy 3-step deployment process, as well as its continuous automated updates.Download this Article in PDF format

Arashtad Custom Services
In Arashtad, we have gathered a professional team of developers who are working in fields such as 3D websites, 3D games, metaverses, and other types of WebGL and 3D applications as well as blockchain development.


