Specular Map Three JS: A Fantastic Tutorial
The specular map is a texture image that affects the specular surface highlight on MeshLambertMaterial and MeshPhongMaterial materials. Using the specular map, you will be able to set the shininess of a surface by giving the a grayscale value from white to black or from 0 to 255. The white points will reflect the light more and the dark points will reflect the light less. In this tutorial, we will create a sphere geometry and map the texture of the globe on then. Next, we will use the grayscale specular map of the globe to determine the shininess on the surface of the globe. In this tutorial, we will also create the a GUI to set different parameters like the shininess, the intensity of the light, the color of the light source, the material and so on. If you would like to enhance your design portfolio in Three JS, follow along with this tutorial.
A simple example from scratch:
We will get started with the main elements of a Three js scene, including the camera, the renderer, the scene, and the object. Before doing that, we use the Vite plugin to easily create all the folders and files you need to run the Three.js code. First off, create a folder in the directory of your projects by using the following commands:
mkdir SpecularMap
cd SpecularMap
Then, inside of the your project folder, create the necessary files and folders by
simply running the Vite plugin command:
npm create vite@latest
Then enter the name of the project. You can write the name of your project as the
name. And also the package (the name is arbitrary, and you can choose anything
you want). Then select vanilla as the framework and variant. After that, enter the
following commands in the terminal. Notice that here SpecularMap is the project
folder’s name, and thus, we have changed the directory to SpecularMap. The
name depends on the name you enter in the Vite plugin :
cd SpecularMap
npm install
Afterward, you can enter the JavaScript code you want to write in the main.js file. So,
we will enter the base or template code for running every project with an animating
object, such as a sphere. Also, do not forget to install the Three.js package library
every time you create a project:
npm install three
For this project, we need to install dat.gui package as well:
npm install --save dat.gui
Implementing the specular map:
Now, enter the following script in the main.js file:
import * as THREE from 'three';
import { OrbitControls } from 'three/examples/jsm/controls/OrbitControls';
import Stats from 'three/examples/jsm/libs/stats.module';
import { GUI } from 'dat.gui';
const scene = new THREE.Scene();
const light = new THREE.PointLight(0xffffff, 2);
light.position.set(0, 5, 10);
scene.add(light);
const camera = new THREE.PerspectiveCamera(
     75,
     window.innerWidth / window.innerHeight,
     0.1,
     1000
);
camera.position.z = 3;
const renderer = new THREE.WebGLRenderer();
renderer.setSize(window.innerWidth, window.innerHeight);
document.body.appendChild(renderer.domElement);
const controls = new OrbitControls(camera, renderer.domElement);
controls.screenSpacePanning = true;

const SphereGeometry = new THREE.SphereGeometry(1,50,50);
const material = new THREE.MeshPhongMaterial();
const texture = new THREE.TextureLoader().load('img/globe.jpg');
material.map = texture;
const specularTexture = new THREE.TextureLoader().load('img/SpecularMap.jpg');
material.specularMap = specularTexture;
const globe = new THREE.Mesh(SphereGeometry, material);
scene.add (globe);

window.addEventListener('resize', onWindowResize, false);
function onWindowResize() {
     camera.aspect = window.innerWidth / window.innerHeight;
     camera.updateProjectionMatrix();
     renderer.setSize(window.innerWidth, window.innerHeight);
     render();
};

const stats = Stats();
document.body.appendChild(stats.dom);
const options = {
     side: {
          FrontSide: THREE.FrontSide,
          BackSide: THREE.BackSide,
          DoubleSide: THREE.DoubleSide,
     },
     combine: {
          MultiplyOperation: THREE.MultiplyOperation,
          MixOperation: THREE.MixOperation,
          AddOperation: THREE.AddOperation,
     }
};

const gui = new GUI();
const materialFolder = gui.addFolder('THREE.Material');
materialFolder.add(material, 'transparent');
materialFolder.add(material, 'opacity', 0, 1, 0.01);
materialFolder.add(material, 'depthTest');
materialFolder.add(material, 'depthWrite');

materialFolder.add(material, 'alphaTest', 0, 1, 0.01).onChange(() => updateMaterial());
materialFolder.add(material, 'visible');
materialFolder.add(material, 'side', options.side).onChange(() => updateMaterial());

const data = {
     color: material.color.getHex(),
     emissive: material.emissive.getHex(),
     specular: material.specular.getHex(),
};

const meshPhongMaterialFolder = gui.addFolder('THREE.MeshPhongMaterial');

meshPhongMaterialFolder.addColor(data, 'color').onChange(() => {
     material.color.setHex(Number(data.color.toString().replace('#', '0x')))
});
meshPhongMaterialFolder.addColor(data, 'emissive').onChange(() => {
     material.emissive.setHex(Number(data.emissive.toString().replace('#', '0x'));
     )
});
meshPhongMaterialFolder.addColor(data, 'specular').onChange(() => {
     material.specular.setHex(Number(data.specular.toString().replace('#', '0x'));
     )
});

meshPhongMaterialFolder.add(material, 'shininess', 0, 1024);
meshPhongMaterialFolder.add(material, 'wireframe');
meshPhongMaterialFolder.add(material, 'flatShading').onChange(() => updateMaterial());
meshPhongMaterialFolder.add(material, 'combine', options.combine).onChange(() => updateMaterial());
meshPhongMaterialFolder.add(material, 'reflectivity', 0, 1);
meshPhongMaterialFolder.open();

function updateMaterial() {
     material.side = Number(material.side);
     material.combine = Number(material.combine);
     material.needsUpdate = true;
};

function animate() {
     requestAnimationFrame(animate);
     globe.rotation.y += 0.01;
     render();
     stats.update();
};

function render() {
     renderer.render(scene, camera);
};

animate();
Now if we save the code, and enter the following command in the terminal:
npm run dev
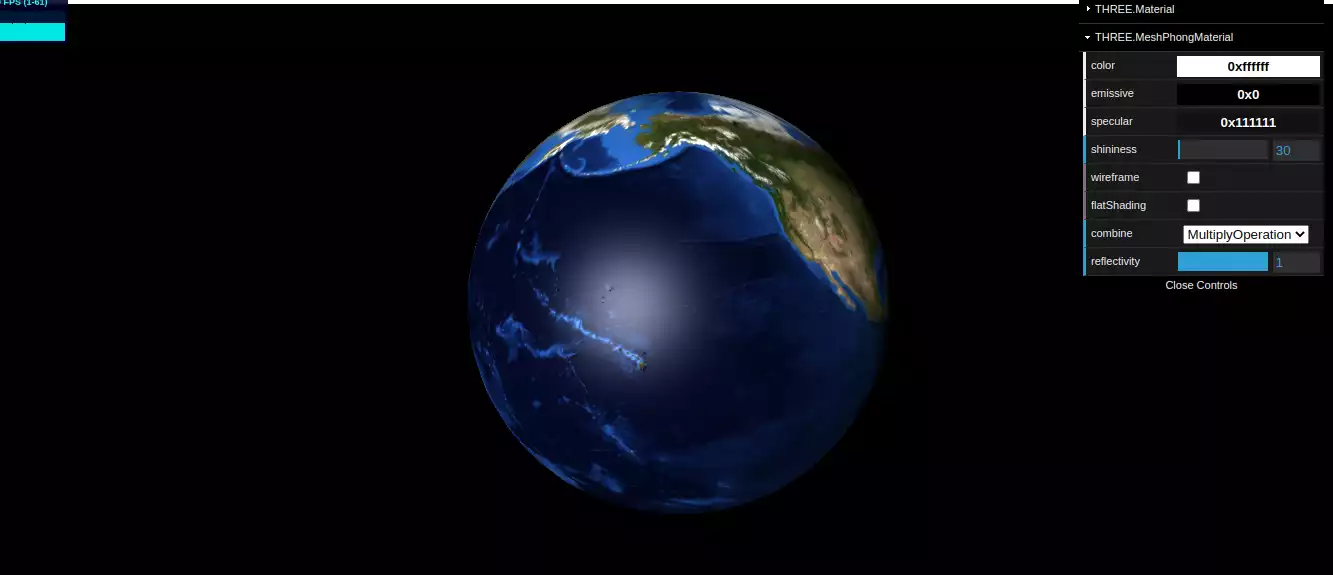
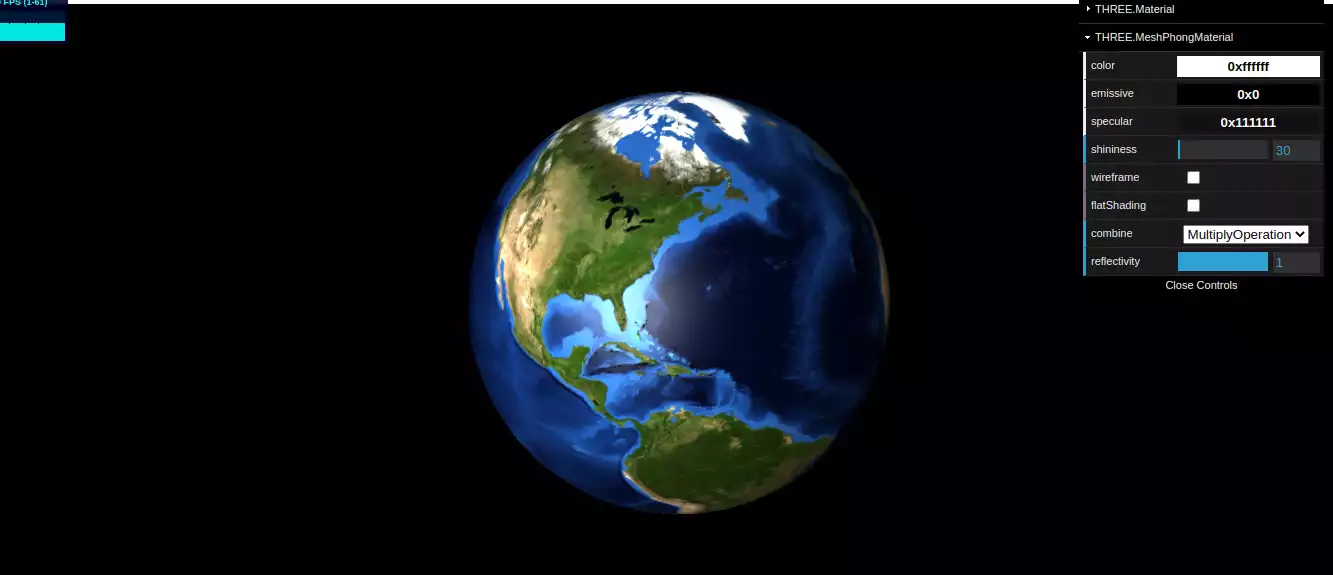
The above script will give the following result:The Specular Map:
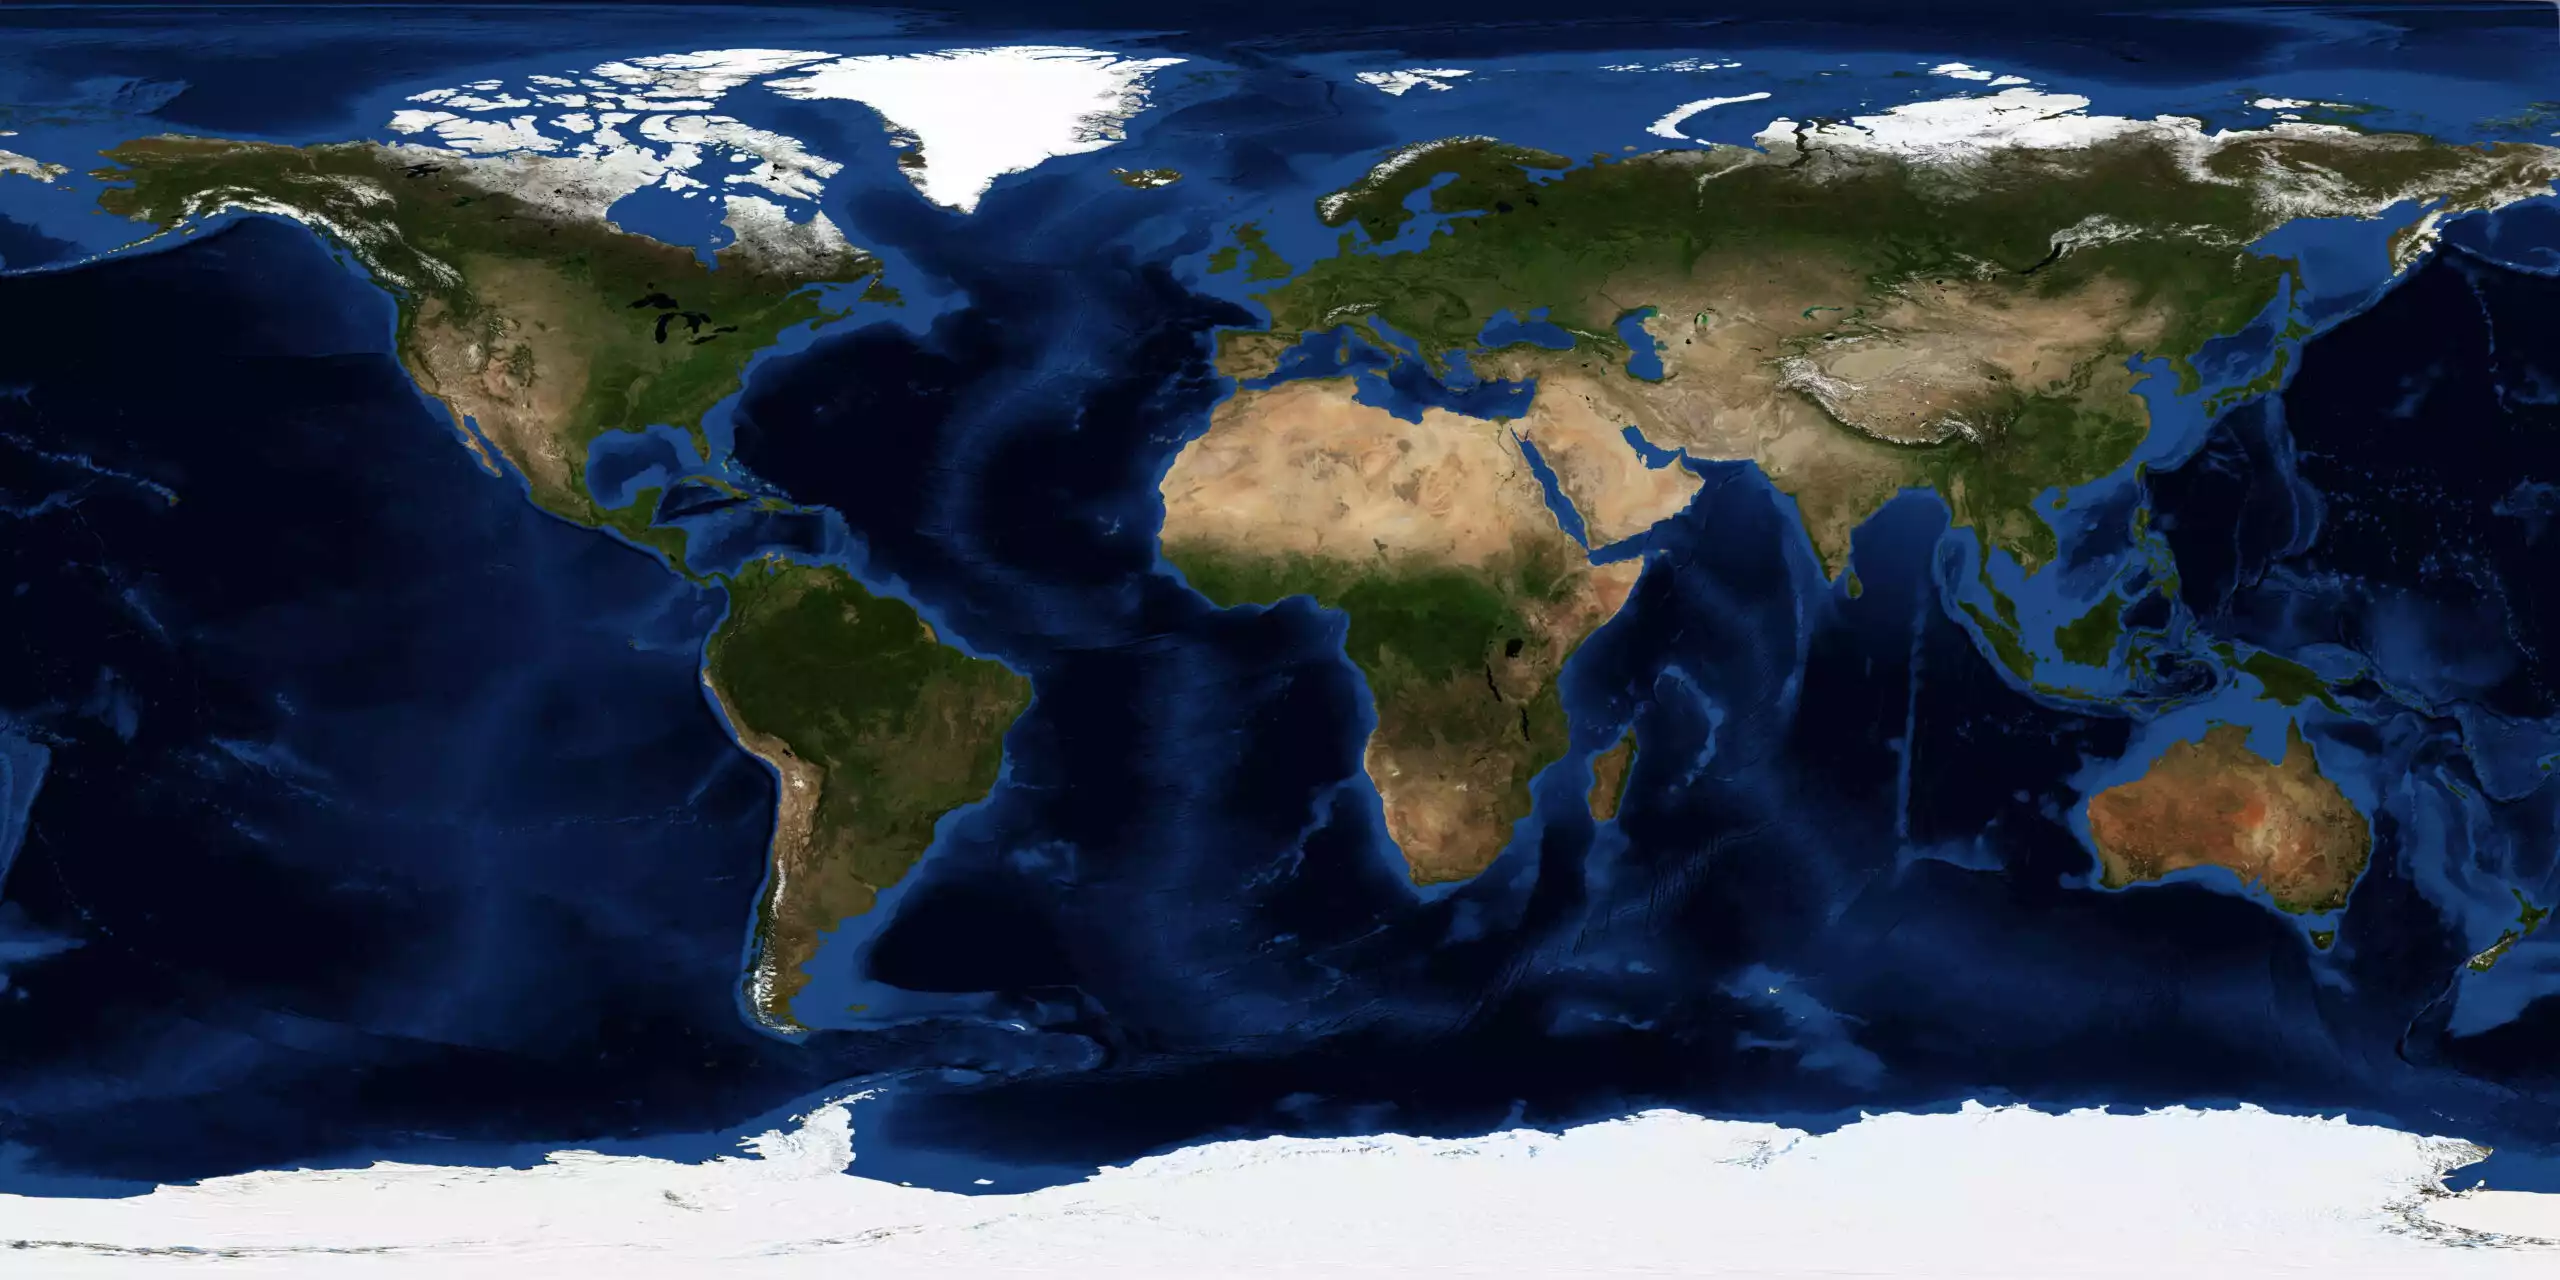
Before we get into the details of the code, it is important to notice that we should create a folder in the project directory and call it img. Then inside of that folder paste in the below images related to the texture of the globe and the specular map of itExplaining the code:
As always, we added the necessary elements of every scene, such as the scene itself, the camera, the renderer, the material, the geometry, the orbit controls, and the animation function. Notice that we also imported all the necessary packages for our purpose. The main part of this code is related to the type of the material, the light source, and the texture mapping. We also wrote many lines of code related to the GUI ( you can skip that part of the script, and yet you will get the same result with the difference that you cannot change the options using the GUI.) We used the main texture of the globe (the RGB photo or the map of the globe) and the specular map containing the RGB values related to the shininess of the surface of the texture, which also represents the land and the sea. For the material, you can use either the Lambert or the Phong material to be able to get the effect that you want. For the light source we should preferably use the point light to be able to simulate the sun light.Conclusion
In this tutorial, we have managed to create a realistic globe with the shininess effect of the sunlight on the seas and a weaker effect of such on the lands using the specular map in Three JS. Moreover, we created a GUI for the user to set the preferred shininess on the object’s surface (globe). We learned what kind of material, color, light source, and mapping we needed to get the different shininess effects on the different sections of the surface of an object. This was an excellent practice to get the effect we wanted on the surface of various objects with the same mapping.Download this Article in PDF format
Arashtad Custom Services
In Arashtad, we have gathered a professional team of developers who are working in fields such as 3D websites, 3D games, metaverses, and other types of WebGL and 3D applications as well as blockchain developemnet.

