How to make a skybox in Three.js: A perfect guide
A skybox or a cubemap is an interesting topic if you want to create a scene of nature, open ambient, a room, and so on. The skybox looks the same as an HDR image in 3D space, where you can see the 360-degree view of the area you want to simulate; the difference is that creating a cubemap or sky box is much easier and showing it in Three.js takes a different method from the HDR image background. You can also zoom in on different views when using skybox in your three.js scene. To create a Cubemap or a Skybox, we need to create a cube using the box geometry; then create six photos from the area you want to render and show in your scene. These six photos should be taken from the center’s upward, downward, left, right, front and back views. Then, they should be added to the array of material textures. This mapping should be on the backside, and the camera’s position should be limited to the area inside the cube.
A simple example from scratch:
We will get started with the main elements of a Three js scene, including the camera, the renderer, the scene, and the object. Before doing that, we use the Vite plugin to easily create all the folders and files you need to run the Three.js code. First off, create a folder in the directory of your projects by using the following commands:
mkdir Skybox
cd SkyBox
Then, inside of the your project folder, create the necessary files and folders by
simply running the Vite plugin command:
npm create vite@latest
Then enter the name of the project. You can write the name of your project as the
name. And also the package (the name is arbitrary, and you can choose anything
you want). Then select vanilla as the framework and variant. After that, enter the
following commands in the terminal. Notice that here SkyBox is the project folder’s
name, and thus, we have changed the directory to SkyBox. The name depends on
the name you enter in the Vite plugin :
cd SkyBox
npm install
Afterward, you can enter the JavaScript code you want to write in the main.js file. So,
we will enter the base or template code for running every project with an animating
object, such as a sphere. Also, do not forget to install the Three.js package library
every time you create a project:
npm install three
The code:
Now, enter the following script in the main.js file:
import * as THREE from 'three';
import { Mesh } from 'three';
import {OrbitControls} from "/node_modules/three/examples/jsm/controls/OrbitControls.js";
import Stats from "/node_modules/three/examples/jsm/libs/stats.module.js";
const scene = new THREE.Scene();
const camera = new THREE.PerspectiveCamera(75, innerWidth / innerHeight , 0.1, 1000);
const renderer = new THREE.WebGLRenderer({
     antialias : true
});
renderer.setSize(innerWidth, innerHeight);
document.body.appendChild(renderer.domElement);

//creating a cube
const geometry = new THREE.BoxGeometry(8,8,8);
var materials = [
     new THREE.MeshBasicMaterial({
          map : new THREE.TextureLoader().load('./img/1.bmp'),
          side : THREE.BackSide,
     }),
     new THREE.MeshBasicMaterial({
          map : new THREE.TextureLoader().load('./img/2.bmp'),
          side : THREE.BackSide,
     }),
     new THREE.MeshBasicMaterial({
          map : new THREE.TextureLoader().load('./img/3.bmp'),
          side : THREE.BackSide,
     }),
     new THREE.MeshBasicMaterial({
          map : new THREE.TextureLoader().load('./img/4.bmp'),
          side : THREE.BackSide,
     }),
     new THREE.MeshBasicMaterial({
          map : new THREE.TextureLoader().load('./img/5.bmp'),
          side : THREE.BackSide,
     }),
     new THREE.MeshBasicMaterial({
          map : new THREE.TextureLoader().load('./img/6.bmp'),
          side : THREE.BackSide,
     }),
];
const cube = new THREE.Mesh(geometry,materials);
scene.add(cube)
camera.position.z = 15
const controls = new OrbitControls(camera,renderer.domElement)
window.addEventListener('resize', onWindowResize, false)
function onWindowResize() {
     camera.aspect = window.innerWidth / window.innerHeight
     camera.updateProjectionMatrix()
     renderer.setSize(window.innerWidth, window.innerHeight)
     render()
}
const stats = Stats()
document.body.appendChild(stats.dom)

function animate() {
     requestAnimationFrame(animate)
     render()
}

function render() {
     renderer.render(scene, camera)
}

animate()
Next, we should copy and paste the 6 photos of the sky box in the img folder that
you have created in the directory of the project. You can get the sky box images from
a website like OpenGameArt.org. Now if we save the code, and enter the following
command in the terminal:
npm run dev
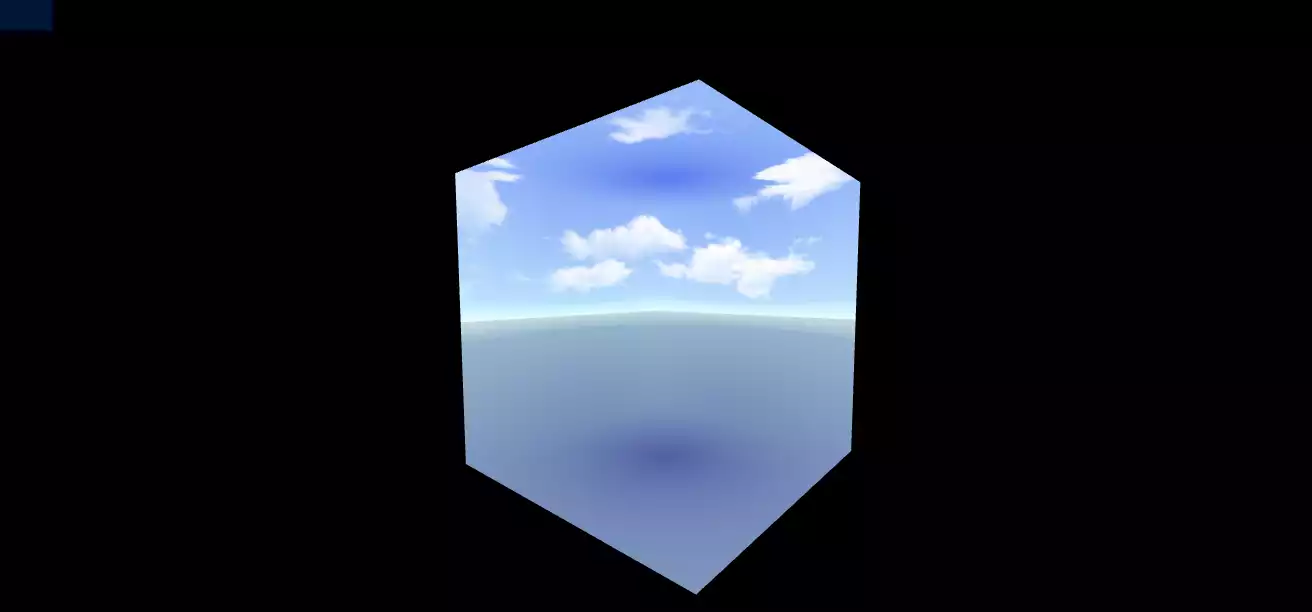
The above script will give the following result:
window.addEventListener('change', renderer)
controls.minDistance = 0
controls.maxDistance = 4
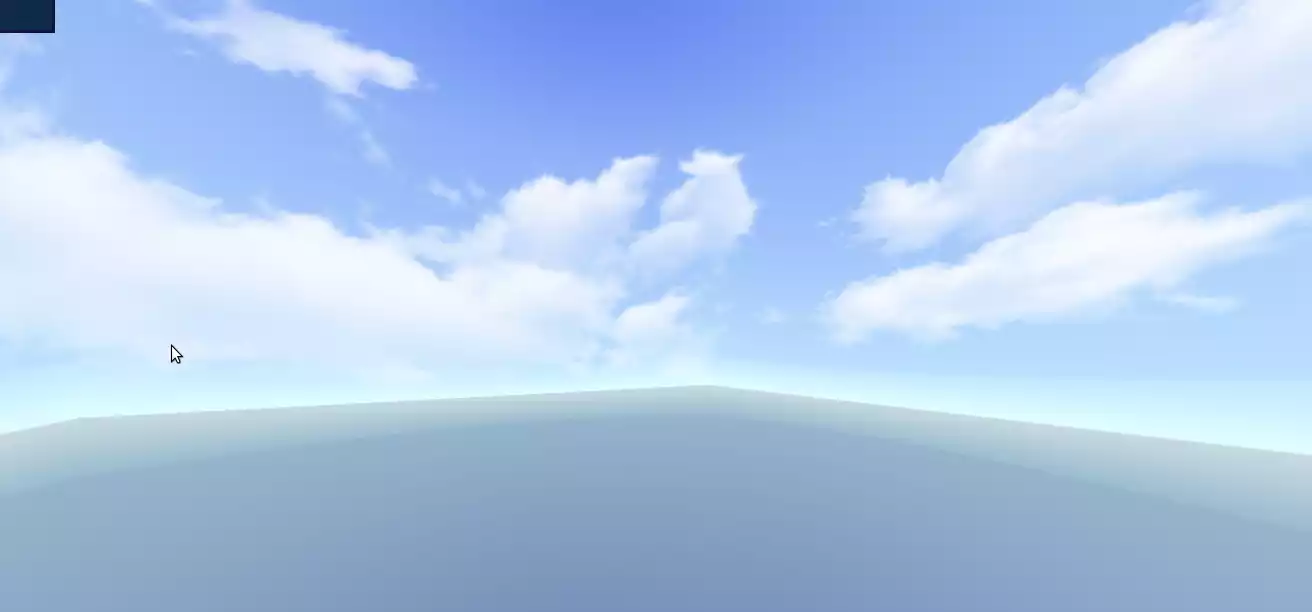
To cover the second problem, we can either change the size of the cube to larger
dimensions:
const geometry = new THREE.BoxGeometry(800,800,800);
Or change the zoom in and zoom out limit:
window.addEventListener('change', renderer)
controls.minDistance = 0
controls.maxDistance = 0.04
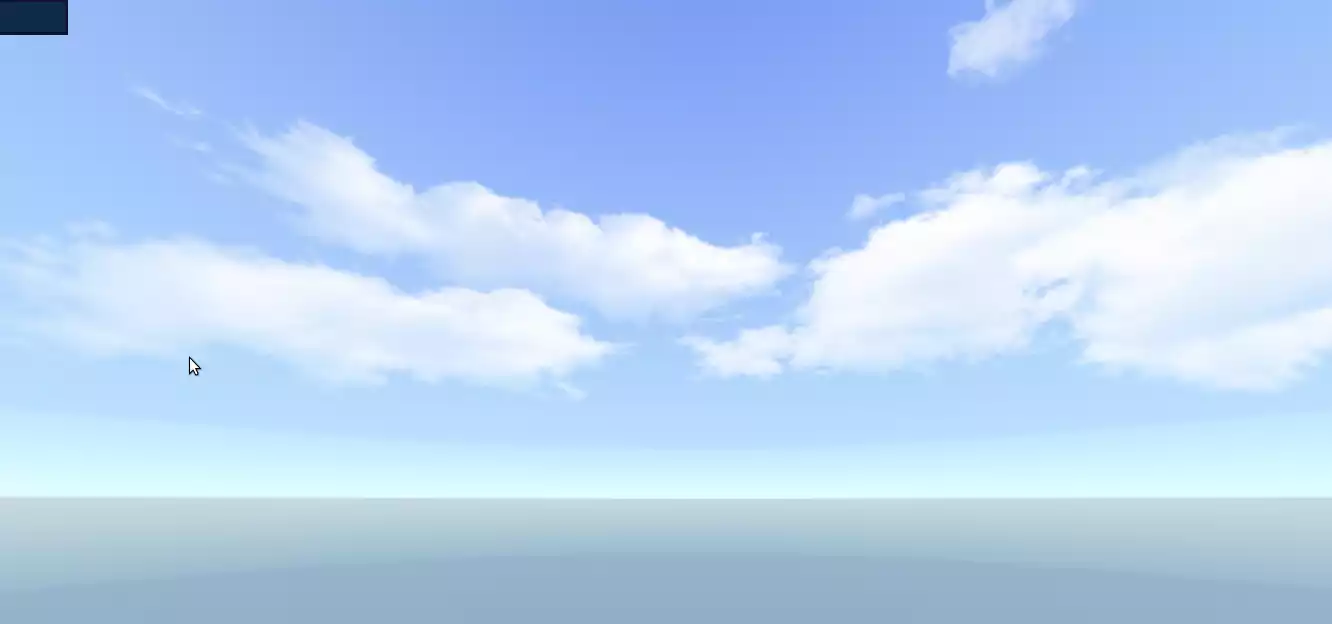
If you look at the very first code, you will notice that this one is not very different from
the dice example article we covered in the last articles we covered on blog. If we
save the code, the result will look much nicer, more realistic and more importantly,
the background will always be inside the sky box.Conclusion
In this tutorial, we learned how to create a skybox and make a background scene using this method. To create a skybox, we first created a cube and then added the six textures on the sides of the same cube which represents the background of an open area like a sea. To see the scene from inside the cube, we will need to select the backside of each side of the cube. And to keep the view inside of the sky box, we will need to set some limits for the area we want to zoom in and zoom out. The sky box or the cube map is one of the ways we can add the 360-degree background to the scene. However, if the zooming freedom range is set high, meaning that if we can zoom into the cube with a high range of freedom the scene will look less realistic and everyone will notice that the background is created inside of a cube. To solve this problem, we suggested an easy solution.Download this Article in PDF format
Arashtad Custom Services
In Arashtad, we have gathered a professional team of developers who are working in fields such as 3D websites, 3D games, metaverses, and other types of WebGL and 3D applications as well as blockchain developemnet.

