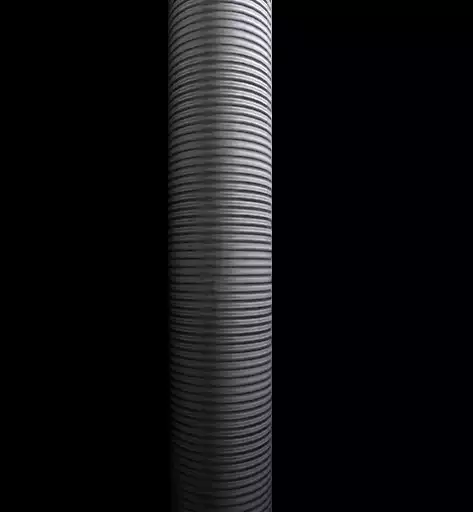
How to Create Three.js Tube Efficiently
In this tutorial, we are going to design a tube with the texture of a real-world tube. The process we are going to take starts from scratch and we will cover all of what needs to be explained in order for the beginners to understand. First, we will start with the Vite plugin and then we will extend and develop the main.js file by starting from the simplest scene with cylinder, camera, point lights, material, and so on. Then we will add texture to the design and the kind of texture we will get will be retrieved by searching google for an aluminum sheet, tube normal map, or tube texture. You can find any other texture from anywhere or by any means according to your design preferences. Also, notice that here we will use the rect light for the light source but if this tube is meant to be designed for a room or another area, the appropriate light source needs to be added to the scene.
Getting started with the basics:
We are going to get started with the simple elements of a Three js scene including the camera, the renderer, the scene, the object, and the light source (if necessary). Before we do that, we’d rather use the Vite plugin to be able to easily create all the folders and files that you need to run the Three.js code. First off, create a folder in the directory of your projects by using the following commands:
mkdir cube
cd cube
Then, inside of the glowing sphere folder, create the necessary files and folders by
simply running the Vite plugin command:
npm create vite@latest
Then enter the name of the project. You can write glowingSphere as the name. And
also the package (the name is arbitrary and you can choose anything that you want).
Then select vanilla as the framework and variant. After that, enter the following
commands in the terminal:
cd cube
npm install
Afterward, you can enter the javascript code that you want to write in the main.js
file. So, we will enter the base or template code for running every project with an
animating object, such as an sphere. Also do not forget to install Three js package
library every time create a project:
npm install three
Now, enter the following script in the main.js file:
import * as THREE from 'three';
import { Mesh } from 'three';
const scene = new THREE.Scene();
const camera = new THREE.PerspectiveCamera(75, innerWidth / innerHeight , 0.1, 1000);
const renderer = new THREE.WebGLRenderer({
     antialias : true
});
renderer.setSize(innerWidth, innerHeight);
document.body.appendChild(renderer.domElement);
//creating a sphere
const geometry = new THREE.SphereGeometry(5,50,50);
const material = new THREE.MeshBasicMaterial({
     color:0x3268F8
});
const sphere = new THREE.Mesh(geometry,material);
scene.add(sphere);
camera.position.z = 15;

function animate(){
     requestAnimationFrame(animate);
     renderer.render(scene,camera);
     sphere.rotation.y += 0.003;
}
animate();
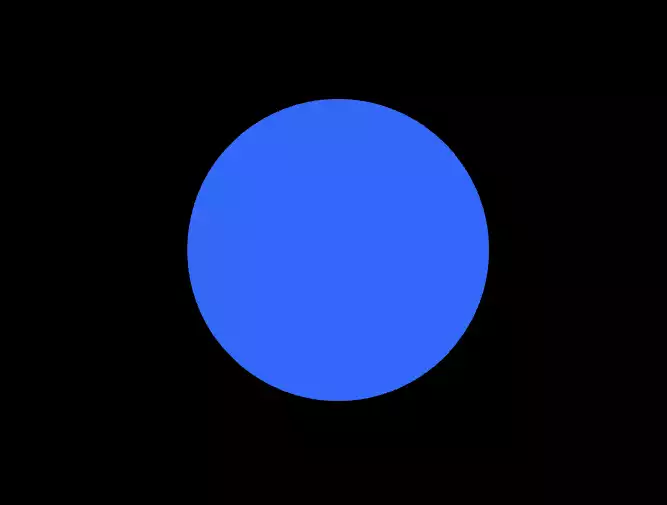
The above code can be used as a boilerplate for later projects. The output of this
code will be blue sphere like the below photo. But to be able to show that, you
should write the following command in the terminal:
npm run dev
const geometry = new THREE.SphereGeometry(5,50,50);
To:
const geometry = new THREE.CylinderGeometry(2, 2, 20, 32);
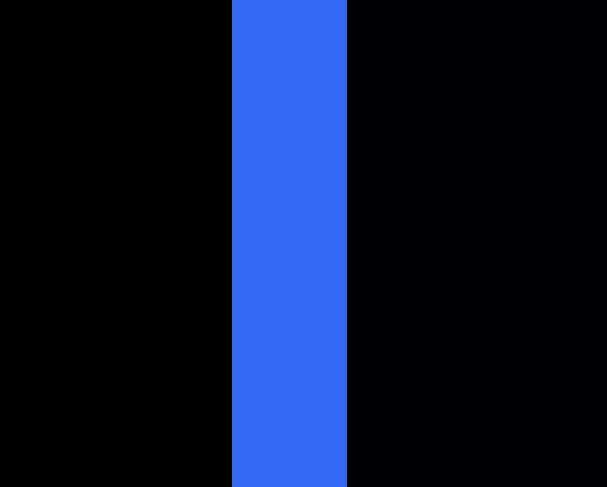
If you save the code, the result will be a rotating cylinder like this:
const material = new THREE.MeshBasicMaterial({
    color:0x3268F8
});
To:
const material = new THREE.MeshStandardMaterial({
    color:0x3268F8
});
material.roughness = 0.2;
material.metalness = 0.8;
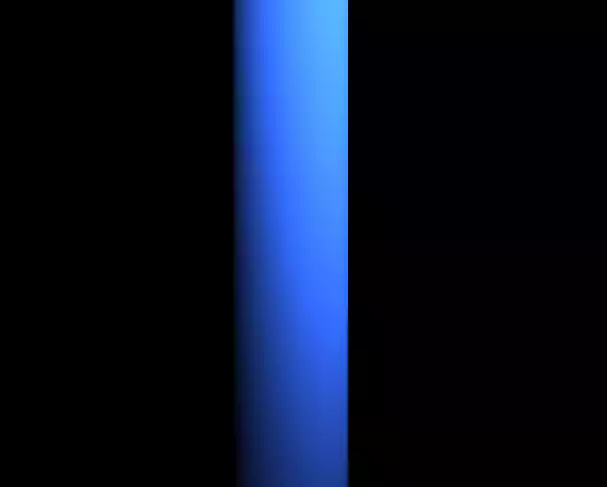
And also add 1 Rect area light to the scene so that you can see the cylinder made
with the standard mesh material::
const width = 20;
const height = 20;
const intensity = 10;
const rectLight = new THREE.RectAreaLight( 0xffffff, intensity, width, height);
rectLight.position.set( 5, 5, 5 );
rectLight.lookAt( 0.5, 0.5, 0.5 );
scene.add( rectLight );
Result:Adding texture to the Cylinder:
One of the important things that makes your objects more beautiful and decorated, is adding texture to them. The process is so easy, you can google any texture that you want and download it. Then use the map property of the material and load the photo of the texture to the surface of the object by giving the address of the image. For instance, you want to add the tube texture on your+ cylinder. We google it and find this photo:
material.map = new;
THREE.TextureLoader().load('./img/tube.jpeg');
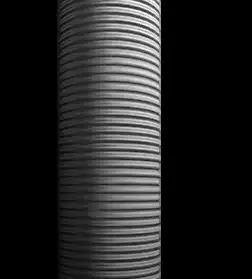
The result will be a more realistic tube:Conclusion
In this article, we have managed to introduce an easy way to create a natural tube from scratch. At first, we designed a normal object with mash basic material. Then we changed the object geometry to the cylinder. Afterward, we changed the material from basic to standard and added the Rect area light in order to simulate the light of the window. To make the cylinder look like a tube, we added the mapping property to the material, and using it, we addressed the directory of the texture that we had downloaded from Google. The texture helped us create a real-world tube. We can add many effects to the tube and for the bending tube, we can import a model of it in Three js and add the proper material, color, shader, lighting, and so on, so that in the end we would get the kind of tube that we want. We have provided many tutorials on Youtube and on our blog about creating textures, shaders, different light sources, and so on. Using a combination of all these techniques you will hopefully be able to create an even more amazing result for your taste.Download this Article in PDF format

Curious about What We’re Up To?
In Arashtad we provide custom services in various design and development fields. 3D websites, 3D games, metaverses, and other types of WebGL and 3D applications are just some of our expertise.

