How to Create and Use Custom Shaders in Three.js
If you have read our previous articles on Three.js, you are familiar with the basic functions of this powerful tool. We have different ways to apply our desired textures on the surface of an object, One of which for instance is the MeshStandardMaterial() function we can apply any texture that we want on the object by using it. There is also another technique using which we can apply our desired texture to the object. Not only the texture but photo, logo, color, effects, and so on. This method is using shaders.
Shaders in Three.js
By using a shader, you can create the kinds of effects that you cannot normally do with the aid of built-in materials inside the Three.js. Consequently, using shaders which are written GLSL language, you have a wider variety of options to create a beautiful effect on the surface of an object.Generally in computer graphics, a shader is a computer program that calculates the appropriate levels of light, darkness, and color during the rendering of a 3D scene. With this general definition, a shader will not boil down to the specific case of the program written in GLSL (OpenGL Shading Language). In other words, we can create shading using different methods and languages. For instance, in Three.js we can use the
MeshStandardMaterial() function to cover many of the shading effects that we want including a custom texture or lighting, shadows, colors, and so on.It is totally up to you to decide which way is easier to go to create the kind of shader that you like. But the easier way is to use
MeshStandardMaterial() and it is recommended that you use this method as far as you can since it’s much simpler and faster than using the GLSL method. However, when your custom shader cannot be implemented using the Three.js functions, you will have no other option but to use the GLSL. In this tutorial, we cover both methods. The first one that we go after is using the MeshStandardMaterial() function.A Simple Project to Use Shaders in Three.js
First off, make sure you have npm installed. You can start your first project by git cloning one of the simple Three.js projects to find a boilerplate for further development. Most of these projects can be found on Github, animate simple objects like a cube, sphere, torus, and so on. The animation is usually rotation. Running these projects and developing them step by step by changing some of the features about rendering, lighting, camera perspective, the color of the objects, textures, animations, and so on will help you find the necessary tools to design more complex objects.We start our first project by git cloning one of the Github repositories. To do so, enter the following command in the terminal:
npm install
npm install webpack-dev-server -g
Now, change the directory to threejs-webpack-starter:
cd threejs-webpack-starter
Then, enter the followings one by one to get a pre-designed 3D animated torus:
npm i
npm run dev
npm run build
And you will be able to see the animated (rotating) torus like this in your browser:
*****
Now, let’s head over to the JavaScript code behind the scenes and see the
elements of this 3D design and rendering. In the src folder, script.js file, you will some
scripts that we are going to modify later:Using Shaders in Three.js
Although when we talk about shaders we most usually mean the one written in GLSL, here we want to show you simpler ways to create the effects that you want using theThree.js functions. The properties that you can apply to the object are
color, lighting effects, metalness, roughness, textures, wireframes, and so on.
However, if you work with the GLSL, you have a wider variety of options available. In
this part, we are going to modify the code in the script.js file to create some effects on
a torus object. To do so, we need to first define the geometry of the object, which
here is a torus knot object.
const geometry = new THREE.TorusKnotGeometry(0.5, 0.15, 100, 64);
Second of all, we can change the material from basic to standard by writing:
const material = new THREE.MeshStandardMaterial();
Instead of:
const material = new THREE.MeshBasicMaterial();
And then, we can apply the metalness, roughness and color effects:
material.metalness = 0.7;
material.roughness = 0.2;
material.color = new THREE.Color(0xff00ff);
The next thing that we should do is to modify the renderer a little bit from:
const renderer = new THREE.WebGLRenderer({
     canvas: canvas
})
To:
const renderer = new THREE.WebGLRenderer({
     canvas: canvas,
     alpha: true
})
The next thing that you should do is to modify the point lights like below (notice that
we add another point light):
const pointLight = new THREE.PointLight(0xffffff, 0.1);
pointLight.position.x = 2;
pointLight.position.y = 3;
pointLight.position.z = 4;
pointLight.intensity = 2;
scene.add(pointLight);
const pointLight2 = new THREE.PointLight(0x000ff0, 2);
pointLight2.position.x = 4;
pointLight2.position.y = 3;
pointLight2.position.z = 2;
scene.add(pointLight2);
Also in the style.css file, add a background color in the body section like below:
background:rgb(24, 24, 24);
Now, it is time to see the result by running the below command in the terminal:
npm run dev
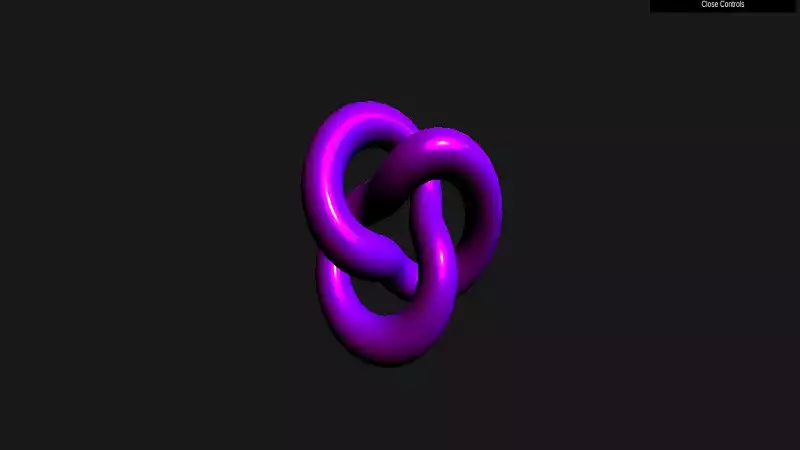
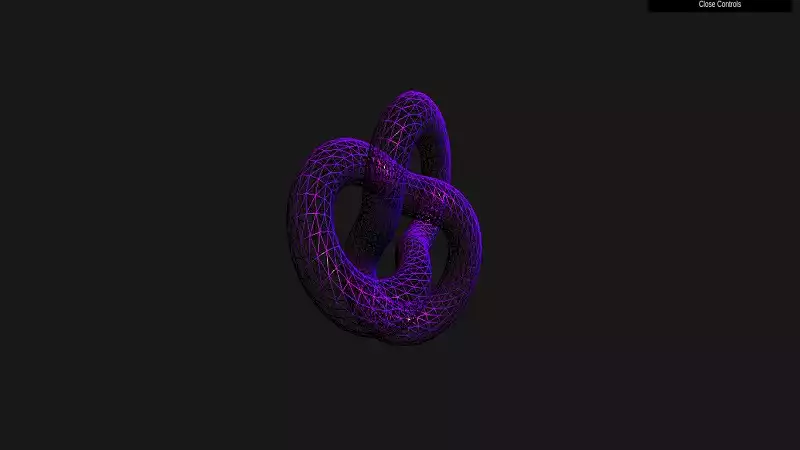
The result:
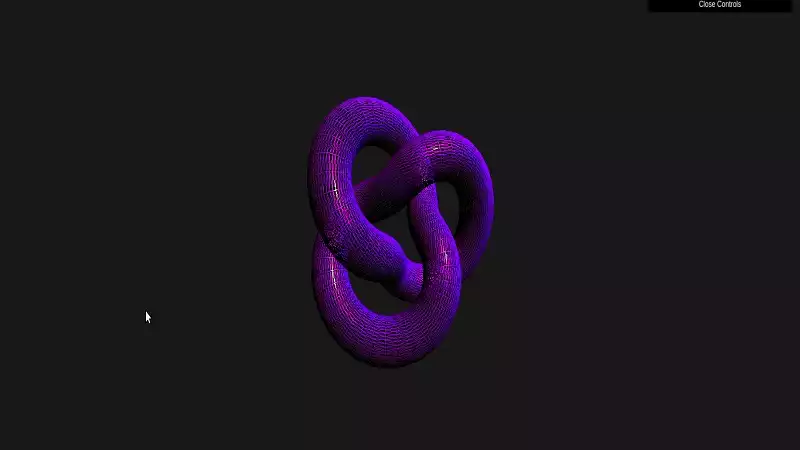
material.wireframe = true;
And then save the script, the result will be:64 to 16:
const geometry = new THREE.TorusKnotGeometry(0.5, 0.15, 100, 16);
The result will be:Shaders in Three.js Using GLSL
Using the GLSL language you can create a wide variety of shaders on the object. As there is a huge amount of shaders using this method, here we only introduce the template using which you can create your own custom shader in GLSL and consequently in Three.js. The scripts that we write here are just kind of aHello World!
of all shaders in GLSL. To get started, in the main directory, create a folder called
shaders and inside it, create 2 files with the names: fragmentShader.glsl.js and
vertexShader.glsl.js. Afterward, in the vertexShader.glsl.js file, paste in the following
script:
import { Vector4 } from "three";
const vertexShader ='void main(){gl_Position = projectionMatrix * modelViewMatrix
     *Vector4(position, 1.0)}';
export default vertexShader;
Then, you should enter another script in the fragmentShader.glsl.js file:
const fragmentShader = 'void main(){gl_FragColor = vec4(1.0, 0.0, 0.0, 1.0);}'
export default fragmentShader;
After that, in the script.js import the 2 files:
import vertexShader from '../shaders/vertexShader.glsl';
import fragmentShader from '../shaders/fragmentShader.glsl';
And instead of the:
const material = new THREE.MeshBasicMaterial({
     color : 'red'
})
You can write:
const customShaderMaterial = new THREE.ShaderMaterial({
     vertexShader: vertexShader,
     fragmentShader: fragmentShader
})
And in the end, you can define the mesh using the geometry and the material created
by the .glsl scripts.
const sphere = new THREE.Mesh(geometry, customShaderMaterial);
scene.add(sphere);
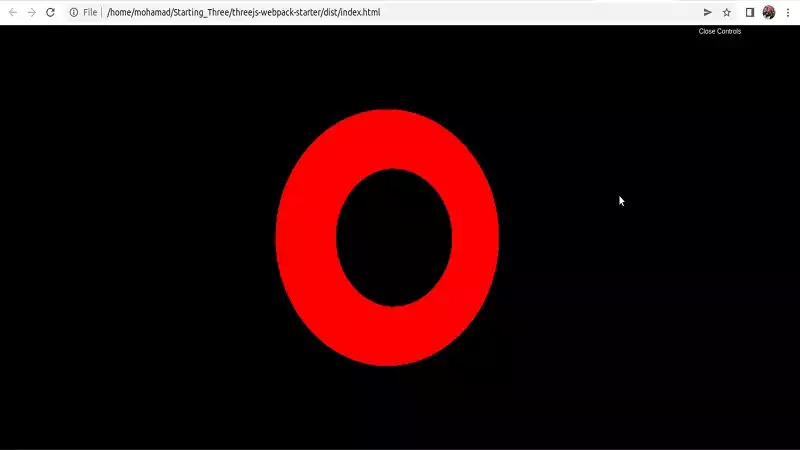
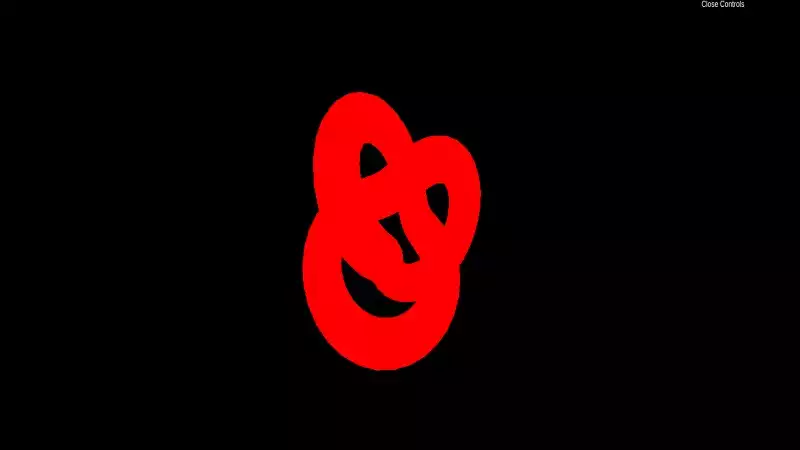
After running the modified project using the npm run dev command, you will see:fragmentShader, but
you can develop both of the vertexShader.glsl.js and fragmentShader.glsl.js files to
get your custom shader. And hopefully, in the next articles, we will make some custom
shaders that are more complex than this one.Also notice that we are not going to talk about the rest of the code inside
script.js as most of the parts are not the subject of our article and for now and we
can set and forget them. We are going to talk about these details in the next articles
where the animation and other details are going to be modified.Last Thought
In this article, we have introduced different sorts of shaders including the ones created by the Three.jsMeshStandard and MeshBasic function. Using these
functions we managed to write different scripts to create shadings like metalness,
roughness, color, wireframe, and so on. We also wrote a script to create and run
the GLSL custom shader. With the GLSL language, we only wrote a code to create
the red color for the surface of the object. However, there is a huge amount of
other shaders that we can create with this language that help us create shadings
beyond the imagination of others.Some of the most famous shaders are creating textures, logos, backgrounds or even a combination of all of these shaders altogether applied on one object. Moreover, it is important to notice that GLSL is a more common way of creating shaders and most of the designers are familiar with this type of creating shaders.
Download this Article in PDF format

Care to Know About Metaverse?
In Arashtad, we are providing custom services on 3d developments such as 3d websites, 3d models, metaverses and all 3d applications.

