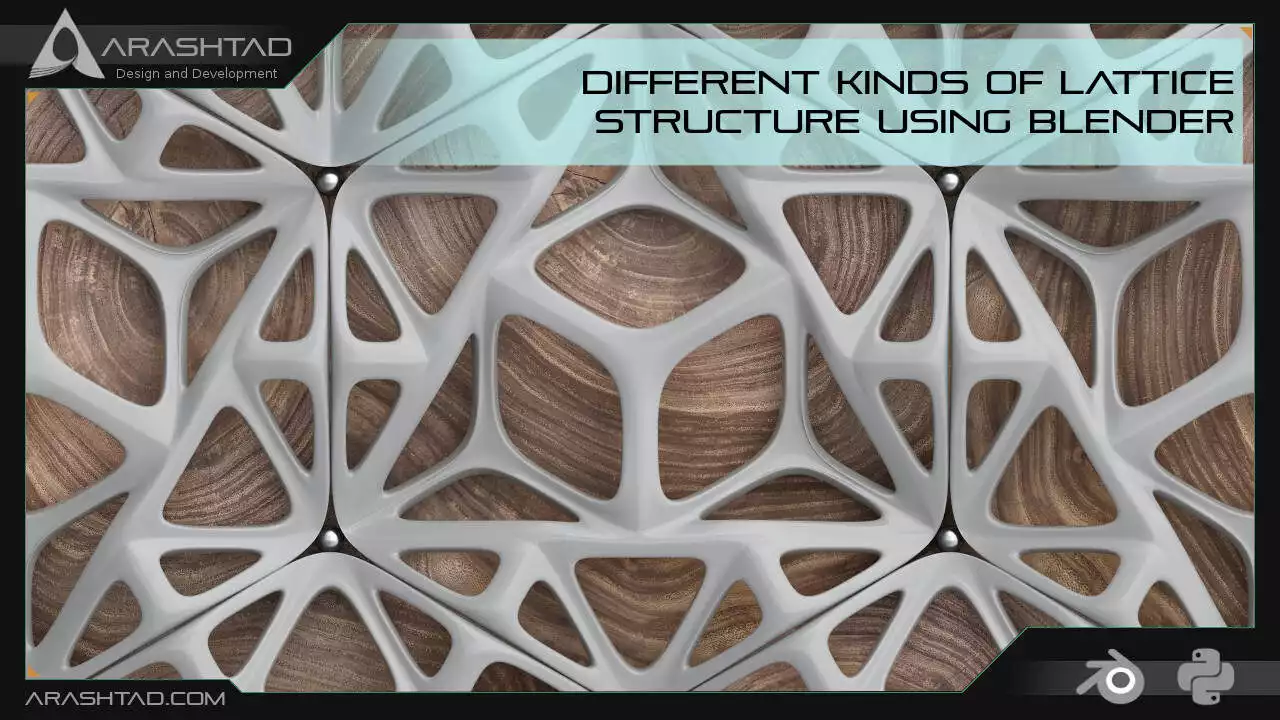
Different Kinds of Lattice Structure Using Blender
In this article, we are going to directly use the Blender modifiers to create an aesthetic costume lattice structure in Blender. But, as we have said before, the purpose of creating these kinds of lattice structures is art and aesthetics, because the end result is more stochastic rather than deterministic. We start with adding a simple shape like a cube, cylinder, or cone and use modifiers to change the formation of the mesh, then use the Wireframe modifier to make a lattice form out of our mesh, after that, by using other modifiers like Multiresolution or smooth, we post-process our design.
Using Blender Modifiers to Create A Lattice Structure
In this 3rd part of our tutorial, we are going to directly use the Blender modifiers to create an aesthetic costume lattice structure but as we have said before the purpose of creating this kind of lattice structure is art and aesthetics, because the end result is more stochastic rather than deterministic.

-
1. creating a cone:
mesh >> cone. And you can see that a cone like below is created:
-
2. Modifying the object:
Multiresulotion >> Subdivide, you can subdivide (increase) the number of meshes on the object like the below photo:
-
3. Scaling:

-
4. Decreasing the number of meshes:
Decimate >> Unsubdivide, decrease the number of meshes:
-
5. Creating a lattice form:

-
6. Finding the right thickness:

-
7. Smoothing the object:

-
8. Final scaling:

In the next part, we are going to create a lattice structure using Blender for a different object with a few differences in the procedure.
Tricky Parts of Designing Lattice Structures in Blender
In this section, we are going to directly use the Blender modifiers to create aesthetic costume lattice structures but as we have said before the purpose of creating this kind of lattice structure is art and aesthetics, because the end result is more stochastic rather than deterministic. The main focus of this section is to teach you the tricky parts of designing these structures.Mesh structures:
The most important part of designing every lattice structure is the mesh formation and there are many ways to change the way the meshes are formed. Different mesh formations are as follows:
- Triangular mesh
- Voxel mesh
- Quadrimesh
- Blocks
- Smooth
The trickiest part about designing lattice structures is finding the best option for forming the meshes.

Lattice Structure for A Clyinder
The next design we are going to work on is the lattice structure for a cylinder. The recommended steps are as follows:-
1. Creating a cylinder:
Add >> Mesh >> Cylinder and you will be able to see that we have a cylinder created in the origin.
-
2. Remesh the object in voxel form:

-
3. Change the size of the voxels:

-
4. Subdivide the mesh

-
5. Unsubdivide the mesh:

-
6. Wireframe modifier:

-
7. thickness of the wireframe:

-
8. Another subdivision:

Translating Shapes of the Lattice Structure Using Blender
So far we have learned many ways to create lattice structures, but what we haven’t learned about is how we can create these holes with the shape that we want and the places that we choose to be. In this section, we are going to create a tool to translate our desired shape to the specified vertex of an object and then we will Boolean the difference between the translated object from the main object. We use many of the functions that we used in Creating a tool in Blender to instantly translate an object to the point we show with the cursor article.
Python Scripts
So let’s get started:
import  bpy
import bmesh
import math

####################################################################
#####                Utility Functions
####################################################################
class BOOLEAN_TYPE:
    UNION = 'UNION'
    DIFFERENCE = 'DIFFERENCE'
    INTERSECT = 'INTERSECT'

def make_boolean(obj1, obj2, boolean_type):
    if not obj1 or not obj2:
        return

    modifier = obj1.modifiers.new(name='booly', type='BOOLEAN')
    modifier.object = obj2
    modifier.operation = boolean_type

    res = bpy.ops.object.modifier_apply({"object": obj1}, apply_as='DATA', mod-ifier=modifier.name)

    assert "FINISHED" in res, "Error"

def solidify(obj,offset,thickness):

    bpy.ops.object.modifier_add(type='SOLIDIFY')
    bpy.context.object.modifiers["Solidify"].offset = offset
    bpy.context.object.modifiers["Solidify"].thickness = thickness
    bpy.ops.object.modifier_apply(apply_as='DATA', modifier="Solidify")
The above function will convert a solid object to a shell of its shape.
def object_closest_point_mesh(p, obj):

    result, location, normal, face_index = obj.closest_point_on_mesh(p)
    assert result, "Can't find closest point on mesh"
    location = location.to_tuple()
    normal = normal.to_tuple()
    return location + normal  # return tuple of 6 floats

def obj_transform(filename, obj_name, size, location, angle):

    ob = bpy.context.scene.objects[obj_name]       # Get the object
    bpy.ops.object.select_all(action='DESELECT') # Deselect all objects
    bpy.context.view_layer.objects.active = ob   # Make the cube the active object
    ob.select_set(True)

    obj = bpy.data.objects[obj_name]
    obj.location = location

    bpy.ops.transform.rotate(value=angle, orient_axis='Z',
        orient_type='GLOBAL',
        orient_matrix=((1, 0, 0), (0, 1, 0), (0, 0, 1)),
        constraint_axis=(False, False, True))

def object_put_part2(part_name, point, obj, scale, obj_name):
    vx,vy,vz,a,b,c = object_closest_point_mesh(point, obj)
    a1 = math.atan2(b, a)
    obj_transform(part_name, obj_name, scale, (point[0], point[1], point[2]), a1)

def get_vertex():
    bm = bmesh.new()
    ob = bpy.context.active_object
    bm = bmesh.from_edit_mesh(ob.data)

    points = []
    for v in bm.verts:
        if (v.select == True):
            obMat = ob.matrix_world
            points.append(obMat @ v.co)

    for p in points:
        pOb = bpy.data.objects.new("VertexPoint", None)
        bpy.context.collection.objects.link(pOb)
        pOb.location = p
    return p

def delete_object(objName):

    bpy.ops.object.select_all(action='DESELECT')
    bpy.data.objects[objName].select_set(True) # Blender 2.8x
    bpy.ops.object.delete()

def get_object_by_name(obj_name):

    assert obj_name in bpy.data.objects, "Error getting object by name:{}".format(obj_name)
    obj = bpy.data.objects[obj_name]
    return obj

####################################################################
########             Main Panel
####################################################################

class MainPanel(bpy.types.Panel):
    bl_label = "Object Adder"
    bl_idname = "VIEW_PT_MainPanel"
    bl_space_type = 'VIEW_3D'
    bl_region_type = 'UI'
    bl_category = 'Design Automation'

    def draw(self, context):
        layout = self.layout
        layout.scale_y = 1.2

        row = layout.row()
        row.label(text= "Design Automation", icon= 'OBJECT_ORIGIN')
        row = layout.row()
        row.operator("wm_function.myop", text= "Create single Lattice")

####################################################################
####                  Main UI ّFunctions
####################################################################

class WM_Function_myOp(bpy.types.Operator):
    """Go to edit mode and determine the point then Click the button"""
    bl_label = "Our customized function"
    bl_idname = "wm_function.myop"

    scale = bpy.props.FloatProperty(name= "Enter the scale of lattice", default= 1)
    Lattice_Name = bpy.props.StringProperty(name= "Enter the scale of lattice", default= '')

    def execute(self, context):

        Scale = self.scale
        Lattice_Name = self.Lattice_Name
        point = get_vertex()
        bpy.ops.object.editmode_toggle()
        obj = get_object_by_name('Icosphere')
        solidify(obj, 0, 0.02)
        obj2 = get_object_by_name('%s'%Lattice_Name)
        object_put_part2('%s'%Lattice_Name, point, obj, Scale, '%s'%Lattice_Name)
        make_boolean(obj,obj2,'DIFFERENCE')
        delete_object("VertexPoint")
        return {'FINISHED'}

    def invoke(self, context, event):

        return context.window_manager.invoke_props_dialog(self)
What We Have Done in the Scripts Above
In the above def execute function, at first get the vertex of the object, then we will create the shell of the main object. After that, we get the name of the lattice shape that has been imported or created by the user. In the next step, we will translate the lattice to the specified point by the user and finally we apply the boolean difference function to the objects. Do not forget the below scripts related to registering and unregistering the classes.
####################################################################
#####                     Register and Unregister
####################################################################

def register():
    bpy.utils.register_class(MainPanel)
    bpy.utils.register_class(WM_Function_myOp)

def unregister():
    bpy.utils.unregister_class(MainPanel)
    bpy.utils.unregister_class(WM_Function_myOp)

if __name__ == "__main__":
    register()
How to Use the Translating Tool
Now, it is time to test the panel we have designed and created. To do so, select a vertex on the object in edit mode:

Wrapping Up
In this tutorial, we have managed to design an aesthetic internal lattice structure manually without the need for any coding python scripts. The design process is easy, however, you need to repeat and practice it in order to easily deal with the tricky parts.Then, we got familiar with the tricks of creating aesthetic internal lattice structures and how to mesh formations such as triangular, voxel-based, and other ones that can influence the beauty of the design of these objects.
Moreover, we have managed to design a panel using python scripts (Blender Python API) to create any number of lattices with any shape and any size on our object. The only thing that the user interface wants from the user is the vertex on which the lattice is going to be placed. We can use this panel to create our custom shape lattice structure with accurate dimensions.
Download this Article in PDF format

Stuck in Creating Lattice Structure?
It’s completely normal if you feel lack of knowledge when facing complicated articles. However, don’t worry! We’de thought about it before. So, you can read our first tutorial about lattice structure using Blender too.
We surely can help