Three JS Lights: Create A More Realistic Design
Lighting is an important subject in every design process. With a perfect selection of light, you can create a more realistic view and a more natural one. For instance, the kind of light you use to create the scene of planet earth is totally different from the light you use to visualize an animal in the open air of sunny weather. There are many kinds of lights that can be used in Three js. These lights include ambient light, spotlight, spotlight, hemisphere light, point light, Rect area light, and directional light.
The Settings ofThree js Lights
In this article, we will cover all kinds of lights that can be used for all the different settings. We apply these light sources to a simple object with simple geometry. However, you can import your GLTF 3D model in Three JS and test each one of them with the specific lights that we present and see which one is the proper light source and what preferences are the best for each one of them.As mentioned earlier, there are many light sources available in Three js for most if not all of the objects that we want to visualize. These light sources have some attributes and settings that you can choose to make your lighting the right one for the scene. The most common is color. For example, you want to create a light source for an object under the blue sky. So you need the ambient light source with the color sky blue. Or in another example, if you want to visualize a planet in space with a yellow light source like the sun, you can use a spotlight or point light with yellow color.Getting Started with a Simple Project
First off, make sure you have npm installed. You can start your first project by git cloning one of the simple Three.js projects to find a boilerplate for further development. Most of these projects can be found on Github, animate simple objects like a cube, sphere, torus, and so on. The animation is usually rotation. Running these projects and developing them step by step by changing some of the features about rendering, lighting, camera perspective, the color of the objects, textures, animations, and so on will help you find the necessary tools to design more complex objects.We start our first project by git cloning one of the Github repositories. To do so, enter the following command in the terminal:
mkdir Starting_Three
cd Starting_Three
git clone
https://github.com/designcourse/threejs-webpack-starter
Then, enter the following commands one by one to install the dependencies:
npm install
npm install webpack-dev-server -g
Now change the directory to threejs-webpack-starter:
cd threejs-webpack-starter
Then enter the followings one by one to get a pre-designed 3D animated torus:
pm i
npm run dev
npm run build
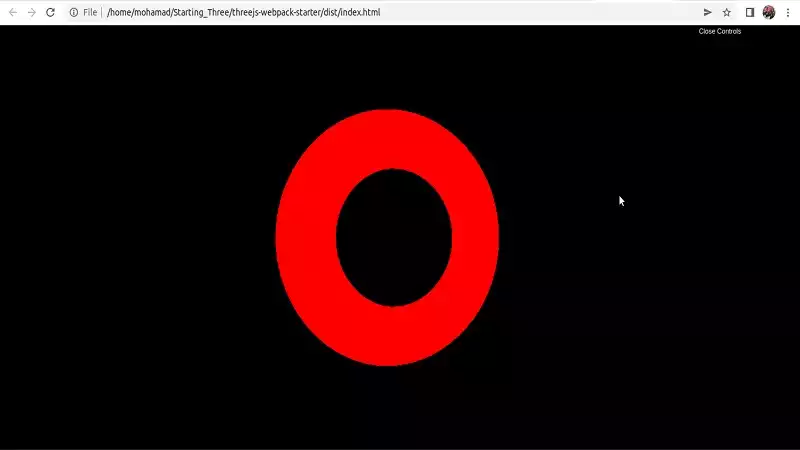
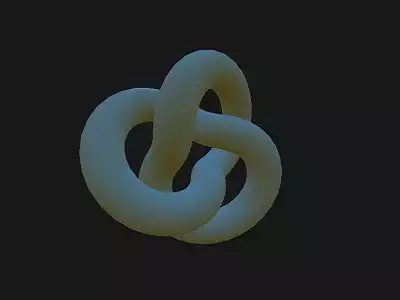
And you will be able to see the animated (rotating) torus like this in your browser:src folder, script.js file, you will use some scripts that we are going to modify later.Three JS Point Lights
A point light is a kind of that gets emitted from a single light source in all directions. A simple example of a point light is a light bulb in a room. The point light constructor is composed of 4 elements including the color, the intensity which is the numeric value of the light’s strength and by default is set to 1, and the distance which is the maximum range of the light that is by default set to 0. The decay which is the amount that the light dims along the distance from the light and by default is set to 1 and you can set it to 2 if you want a more natural result.Now, it is time to put the function to test, but before we do that, let’s modify the raw code a little bit. First of all instead of a simple torus as the geometry, create a Torus Knot :
const geometry = new THREE.TorusKnotGeometry( 0.5, 0.15, 100, 64 );
Second of all, we can change the material from basic to standard by writing:
const material = new THREE.MeshStandardMaterial();
Instead of:
const material = new THREE.MeshBasicMaterial();
And then, we can apply the metalness , roughness and color effects:
material.metalness = 0.7;
material.roughness = 0.2;
material.color = new THREE.Color(0xB1E1FF);
The next thing that we should do is to modify the renderer a little bit from:
const renderer = new THREE.WebGLRenderer({
 canvas: canvas
})
To:
const renderer = new THREE.WebGLRenderer({
 canvas: canvas,
 alpha: true
})
And finally, we can apply the point light by writing:
const pointLight = new THREE.PointLight(0xffffff, 0.1);
pointLight.position.x = 2;
pointLight.position.y = 3;
pointLight.position.z = 4;
pointLight.intensity = 2;
scene.add(pointLight);
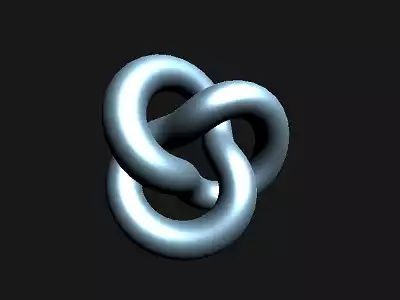
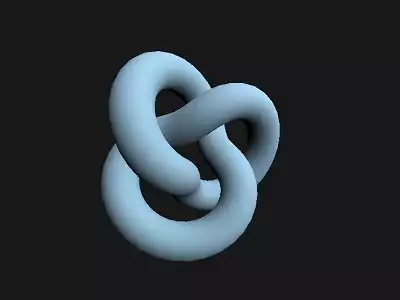
Now, save the code and the result will be:Three JS Ambient Lights
Ambient light is a kind of light that globally illuminates all objects equally. Since the ambient light has no direction at all, it cannot cast shadows. The function has attributes, the first of which is color and the second is intensity. Notice that if you useMeshBasicMaterial instead of MeshStandardMaterial, the object will have the
ambient light when any kind of light is used like the one you saw when running the
very first raw code. But for the case of MeshStandardMaterial, if you want to get the
same result, you should use the ambient light.Now, let’s comment the light point scripts and add the ambient light instead:
const light = new THREE.AmbientLight( 0xB1E1FF,2 );
scene.add( light );
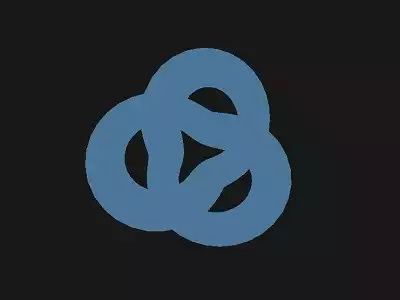
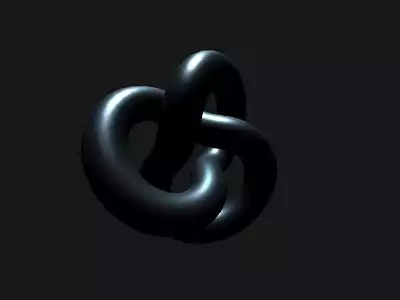
By saving the code, the result will be:Three JS Hemisphere Lights
Hemisphere light is a kind of light source placed directly above the scene and the color and intensity fades from the sky to the ground. Like the ambient light, this light source cannot be used to cast shadows either. The attributes of this type of light source is sky color, ground color and the intensity of the light. By commenting the ambient light codes, copy and paste the below code to test the Hemisphere light source:
const skyColor = 0xB1E1FF;
const groundColor = 0xB97A20;
const intensity = 2;
const light2 = new THREE.HemisphereLight(skyColor, groundColor, intensity);
scene.add(light2);
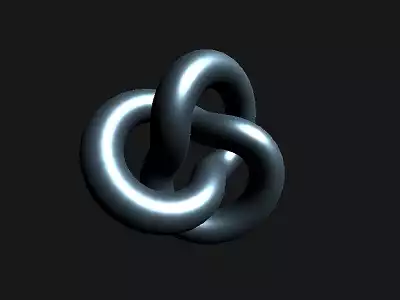
And you can see the result below:Three JS Rect Area Lights
Rect area light emits light uniformly across the face of a rectangular plane, simulating the light coming from a window or a screen. Although we have shadows on the object in the scene, there is no shadow supported in this type of light source. And OnlyMeshStandardMaterial and MeshPhysicalMaterial are supported by Rect
area light. The attributes of the corresponding function are color, intensity, and width
which is the width of the window and is set to 10 by default, and the height of the
window which is also set to 10 by default.Let’s replace the previous light source with the new one using the script below:
const width = 20;
const height = 20;
const intensity = 5;
const rectLight = new THREE.RectAreaLight( 0xffffff, intensity, width, height );
rectLight.position.set( 5, 5, 5 );
rectLight.lookAt( 0.5, 0.5, 0.5 );
scene.add( rectLight );
Three JS Directional Lights
Directional light represents the kind of light from a very far away light source like the sun with parallel beams. This type of light source supports shadow casting. The light also emits in one direction like daylight. The attributes used for the corresponding function are simply the color and the intensity. It is worth mentioning that you can use this type of light to simulate the planet earth.Now, let’s replace the following script with the previous one and see the outcome:
const directionalLight = new THREE.DirectionalLight( 0xffffff, 0.5 );
scene.add( directionalLight );
Spotlight Features
The last type of light we are going to cover in this article is the spotlight source. This light is so similar to the directional light and gets emitted from a single point in one direction, along a cone that increases in size the further from the light it gets. This type of light supports shadow casting. The spotlight function has 7 attributes including the color, the intensity, the distance, angle, penumbra which is the percent of the spotlight cone that is attenuated due to penumbra and takes a value between zero and one and the last parameter is decay which is The amount the light dims along the distance of the light.Let’s test this type of light by replacing the following scripts with the previous one:
const spotLight = new THREE.SpotLight( 0xffffff );
spotLight.position.set( 10, 10, 10 );
spotLight.castShadow = true;
spotLight.shadow.mapSize.width = 24;
spotLight.shadow.mapSize.height = 24;
spotLight.shadow.camera.near = 50;
spotLight.shadow.camera.far = 40;
spotLight.shadow.camera.fov = 3;
scene.add( spotLight );
Wrapping Up
In this article, we have introduced all the different light sources that you can use in Three js with their corresponding details. Moreover, we have provided some simple examples for each one of them so that the reader can put all of the light sources to test and find the appropriate type of light for their own scene. In addition to that, we have addressed a simple boilerplate for Three js so that the beginners can start using this plate and develop it with the light sources that we introduce along the way.Download this Article in PDF format

Curious about What We’re Up To?
In Arashtad we provide custom services in various design and development fields. 3D websites, 3D games, metaverses, and other types of WebGL and 3D applications are just some of our expertise.

